If you have not yet created an email address in your cPanel, do that now with the help of the instructions: How to create an email in cPanel
This is a guide to connecting an email address on your Android Huawei phone:
Note: the e-mail address shown in the pictures is just an example, do not enter in the e-mail address in your settings.
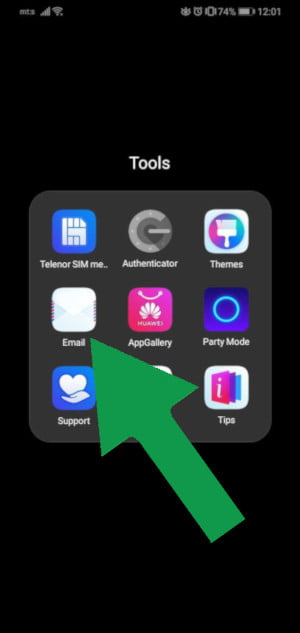
Step 1: Open the e-mail application from your phone, its name is Email:

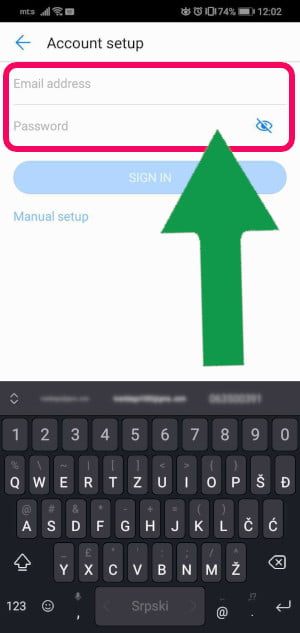
Step 3: In this section you need to enter the full email address and password for your email address:
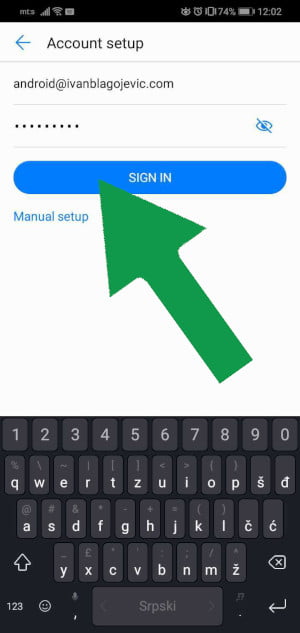
it looks like the image below, and after you enter the information click the Sign in button:
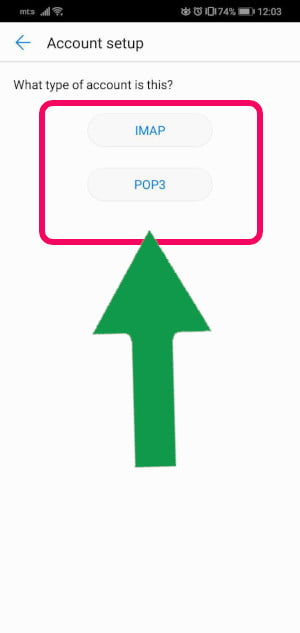
Step 4: You need to choose the protocol that emails will work through. Read here what are the differences: POP3 or IMAP. If you are going to use this e-mail account on multiple devices or if more people will view the e-mail on different devices, you need to select IMAP:
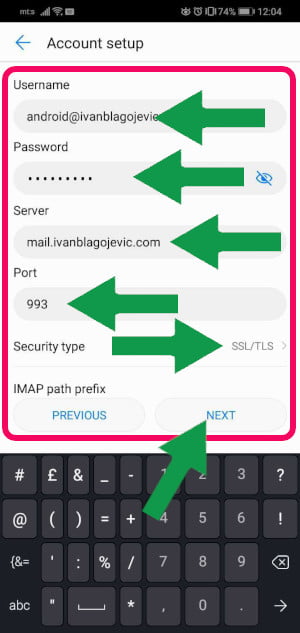
Step 5: Now carefully enter the following information:
- Username: your e-mail address
- Password: password for your e-mail address
- Server: mail.your-domain-name (replace your-domain-name with your domain name - the domain is the address of your site, domain ih the image is an example)
- Port: 993
- Security Type: SSL/TLS
When you enter this information, click the button Next
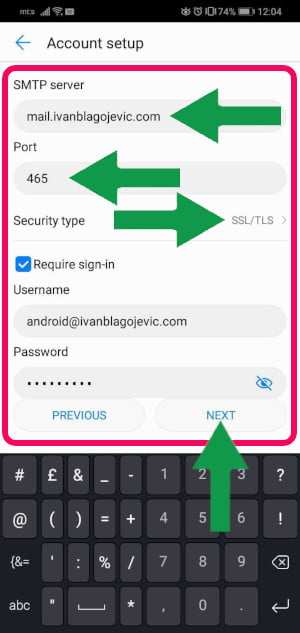
Step 6: Now you also need to enter information so your phone can send emails:
- SMTP server: mail.your-domain-name (replace your-domain-name with your domain name - the domain is the address of your site, domain ih the image is an example)
- Port: 465
- Security Type: SSL/TLS
- Require Sign-in check in
- Username: your e-mail address
- Password: password for your e-mail address
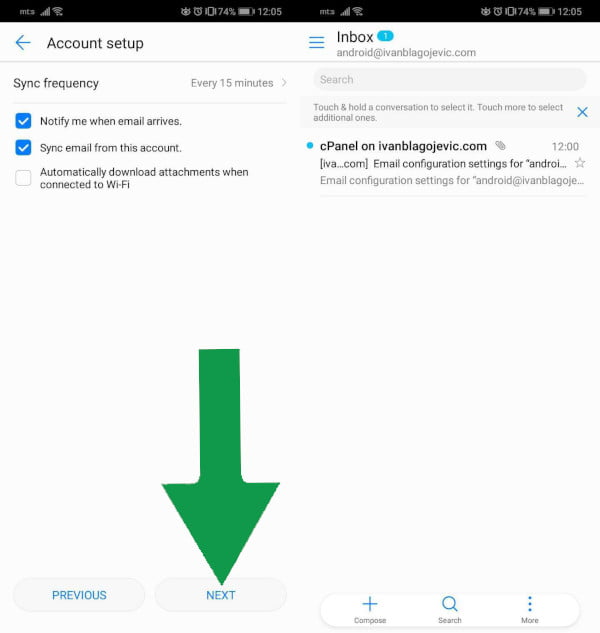
Step 7: In the next section, you can tick the options that suit you and test sending and receiving emails.
